Ripping and Copying DVDs and CDs
Resources
Introduction
Welcome to Megan Berg Designs, your ultimate destination for arts and entertainment in the realm of visual arts and design. In this comprehensive guide, we will delve into the fascinating world of ripping and copying DVDs and CDs. Whether you're a movie or music enthusiast, a creative professional, or simply someone who wants to preserve their media collection, this guide will provide you with the knowledge and tools to get the job done efficiently and effectively.
Why Rip and Copy DVDs and CDs?
Before we dive into the technical aspects, let's explore the reasons why you might be interested in ripping and copying DVDs and CDs. There are various benefits to consider:
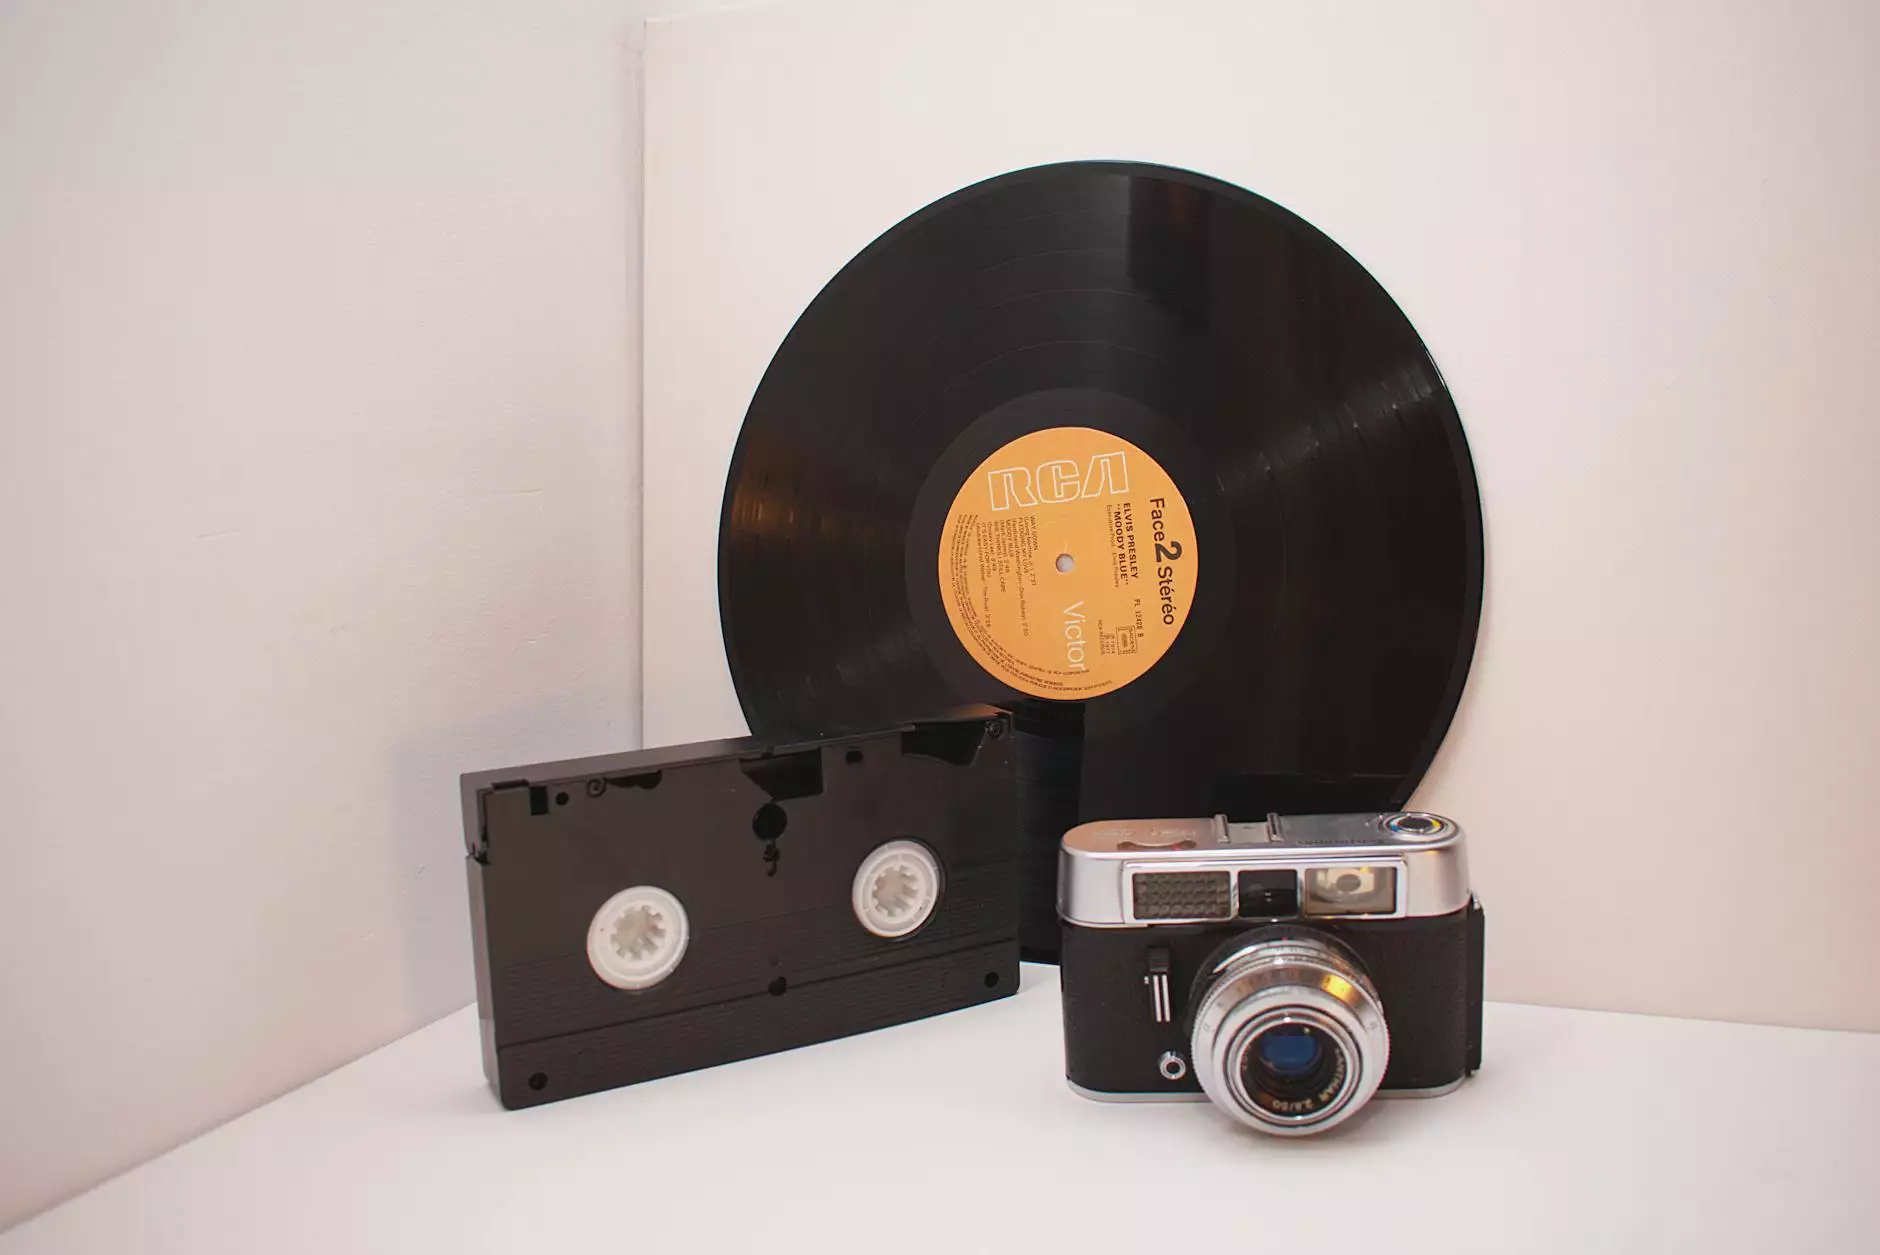
- Preserving Your Media: Physical DVDs and CDs are prone to damage, scratches, or loss. By creating digital copies, you can safeguard your valuable collection and ensure it lasts for generations.
- Convenience and Portability: Digital copies allow you to access your favorite movies and music on various devices, such as smartphones, tablets, or portable media players, anytime and anywhere.
- Customization and Editing: Ripping and copying DVDs and CDs enable you to extract specific content, create compilations, or even make edits to enhance your viewing or listening experience.
The Ripping Process
Now that we understand the benefits, let's dig into the process of ripping DVDs and CDs. Here are the steps involved:
Step 1: Choose the Right Software
The first step is to select reliable ripping software. There are numerous options available, both free and paid, depending on your specific needs. Some popular choices include HandBrake, WinX DVD Ripper, and Exact Audio Copy. Take the time to research and choose the software that best suits your requirements.
Step 2: Insert Disc and Select Source
Once you have the software installed, insert the DVD or CD you want to rip into your computer's optical drive. Launch the software and choose the appropriate source. In most cases, the software will automatically detect the disc, but you may need to manually select the source if you have multiple drives.
Step 3: Configure Ripping Settings
Before initiating the ripping process, you'll have the opportunity to configure various settings. These options typically include choosing the output format, adjusting video or audio quality, selecting subtitles or audio tracks, and specifying the destination folder for the ripped files. Take your time to customize these settings based on your preferences.
Step 4: Start Ripping
Once you have everything set up, click the "Start" or "Rip" button to begin the ripping process. The software will now extract the content from the DVD or CD and convert it into the desired format. The duration of this process may vary depending on the size and complexity of the media.
Step 5: Verify and Organize
After the ripping process is complete, it's essential to verify the quality and accuracy of the ripped files. Play the digital copies to ensure they are free from any glitches or errors. Additionally, organize your newly ripped media by creating appropriate folders and applying descriptive file names.
The Legality of Ripping and Copying
Before engaging in any ripping or copying activities, it's crucial to understand the legal implications. Laws regarding the duplication and distribution of copyrighted materials vary by country. While creating digital backups for personal use is generally accepted, sharing or distributing ripped content without proper authorization is illegal in most jurisdictions. Always adhere to copyright laws and respect the rights of content creators.
Tips and Best Practices
Here are some valuable tips and best practices to enhance your ripping and copying experience:
- Quality vs. File Size: Find the right balance between quality and file size when selecting ripping settings. Higher quality comes with larger file sizes, so consider the storage capacity of your devices before proceeding.
- Metadata and Tagging: Make use of metadata and tagging options provided by ripping software to ensure accurate identification and organization of your ripped media. This includes details such as album or movie title, artist, genre, and cover art.
- Back up Your Digital Copies: Just like physical media, digital files are prone to loss or corruption. Create redundant backups to protect your ripped content from unexpected data loss.
Conclusion
Congratulations! You've learned the ins and outs of ripping and copying DVDs and CDs. Armed with this knowledge, you can now explore the vast possibilities that digital media offers. Remember to respect copyright laws and use your newfound abilities responsibly. Megan Berg Designs is here to support your passion for visual arts and design, providing you with expert guidance and resources every step of the way.